How to set up an email account on an iPhone/iPad device?
General information:
You can lookup email account settings from:
– Webmail
(From webmail https://webmail.yourdomain.tld (where yourdomain.tld should be replaced with your domain name!)) Webmail -> Webmail Home -> “Configure Mail Client” or ”Connect other devices” (On this page you can see the correct email account settings for an IMAP account using SSL)
– From the customer account page: ”Email settings generator”
Direct links to guides:
1. Adding an email account to your iPhone/iPad device
2. Changing email account settings on iPhone/iPad
1. Adding an email account to your iPhone/iPad device
This guide works with up-to-date, updated iOS devices!
(Screen views can be found on Apple’s English support page: How to set up your email account manually)
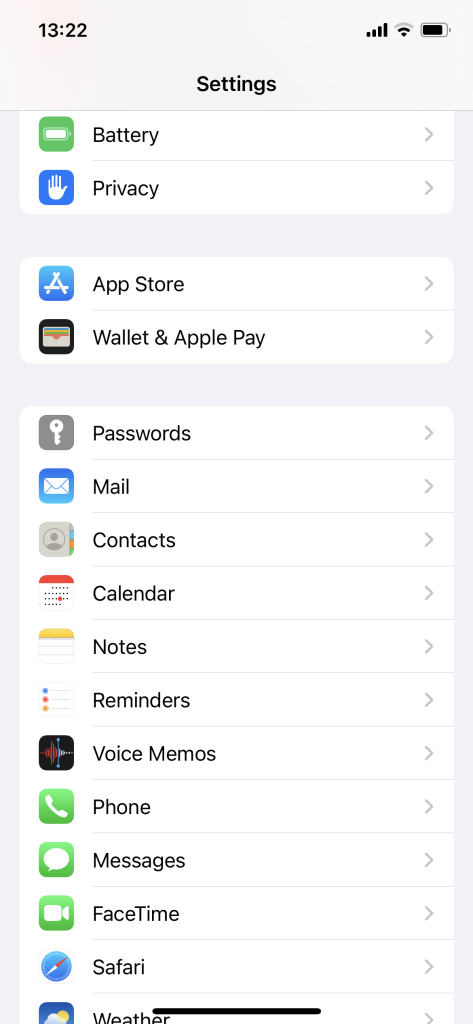
1. Move to: Settings > Passwords & Accounts.
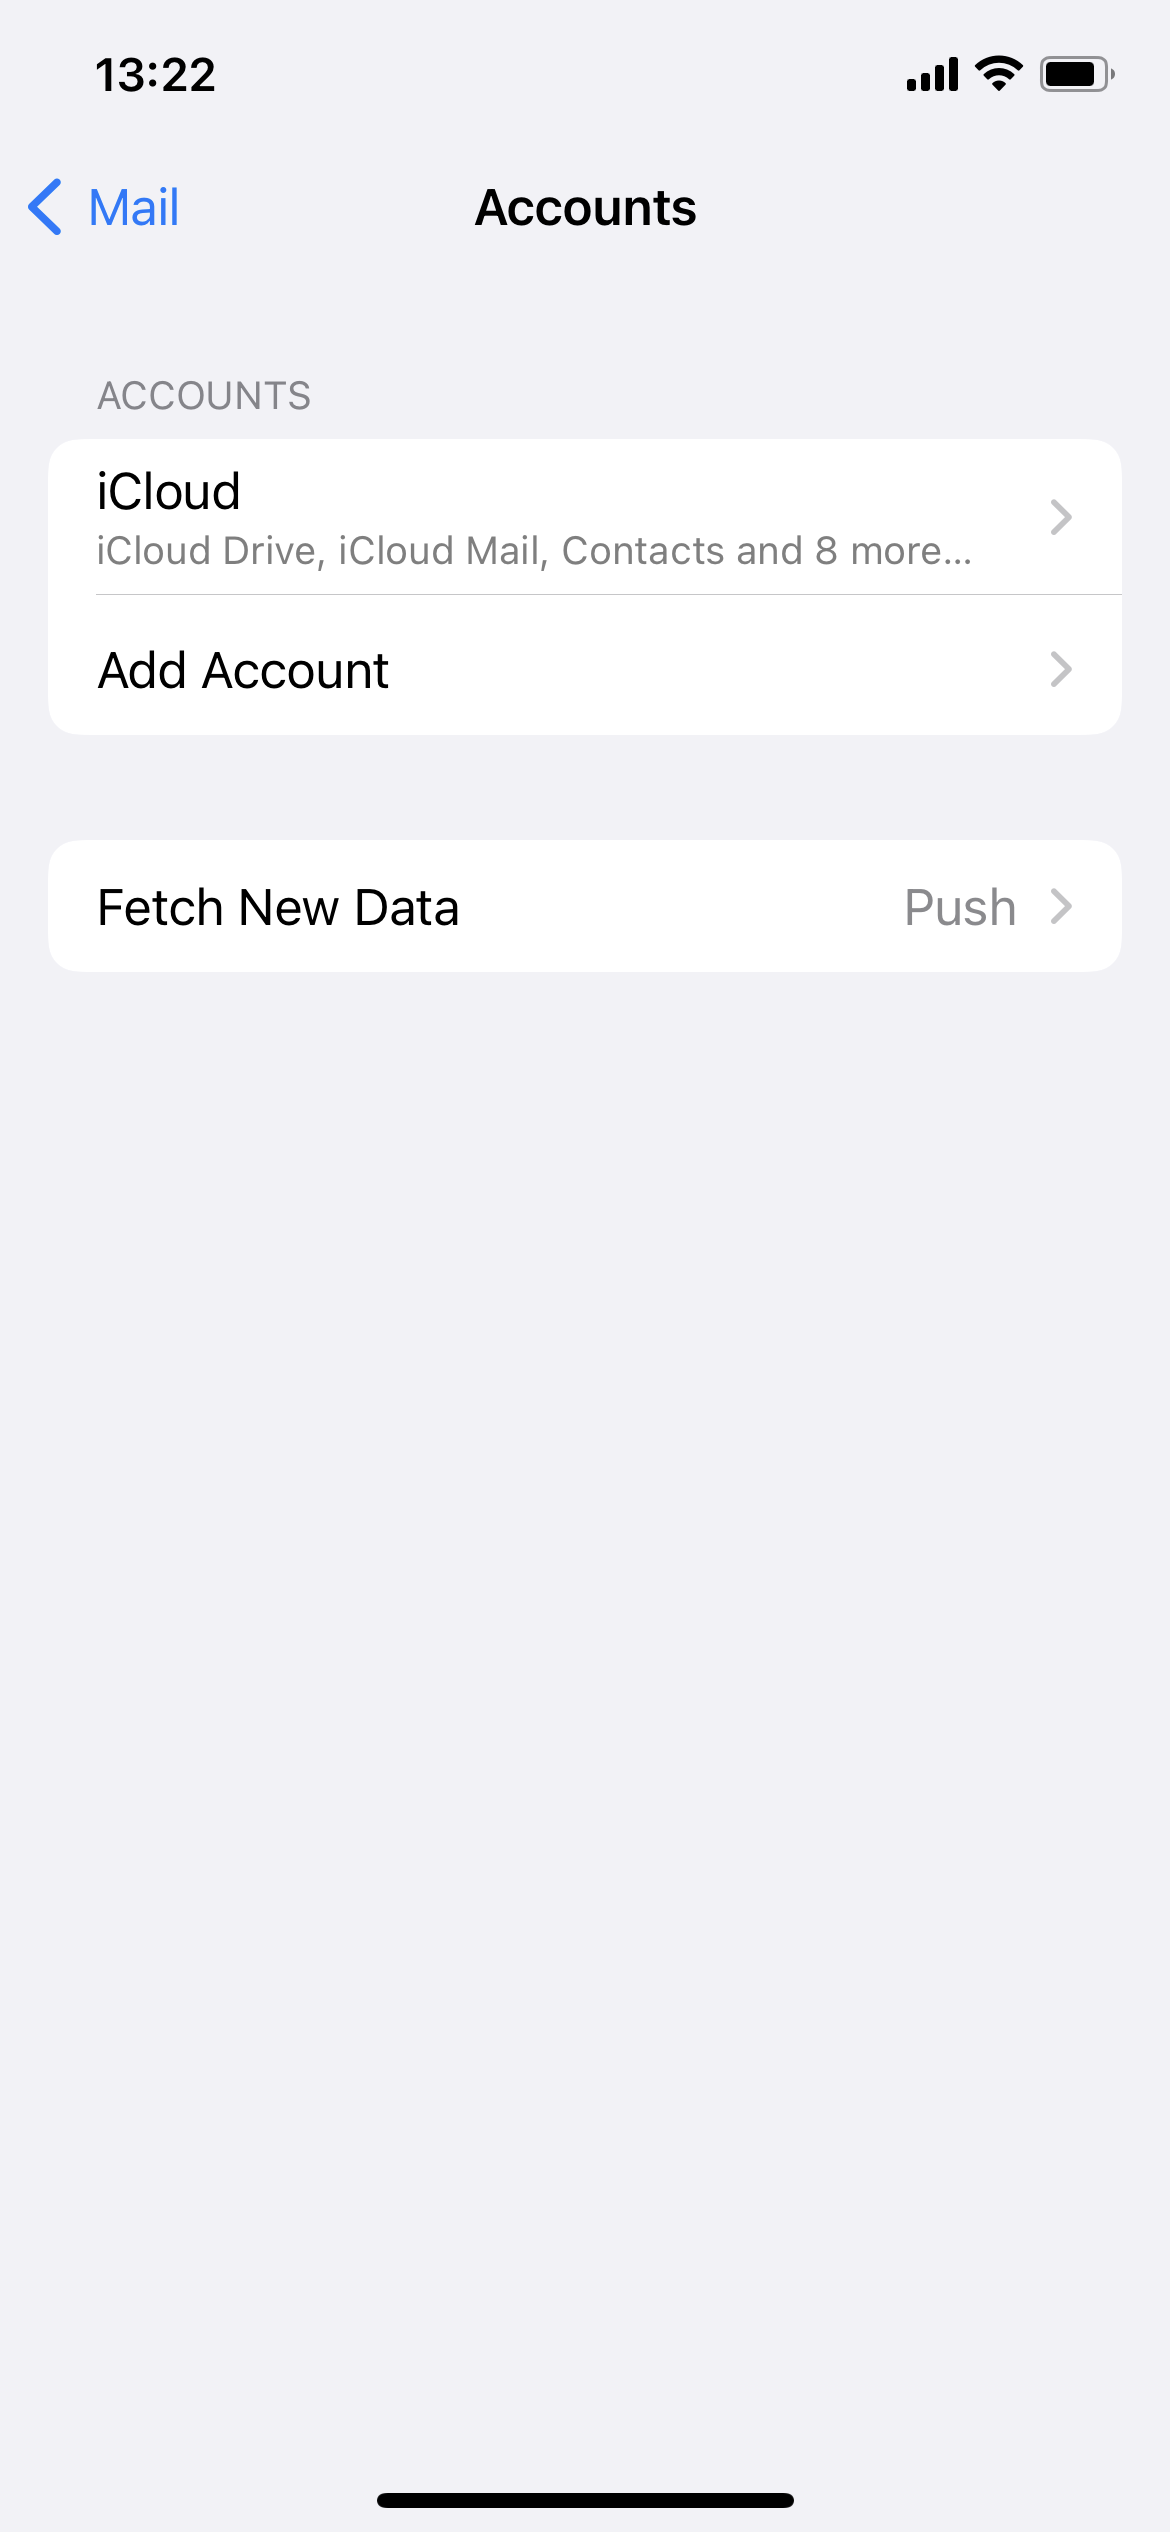
2. Choose “Add Account” -> Other -> Add Mail Account.


3. Add your:
– Name
– Email address
– Password
– Account description
4. Click on the Next button.

– In most cases, iOS Mail can successfully set up the account automatically – in this case, you can click the “Done” button after the automatic setting.
– However, if the automatic setting does not succeed, then it should be set up manually, in this case you should continue by clicking on the “Next” button and:
5. Choose IMAP as the account type.

6. Enter the necessary information for the incoming and outgoing mail server.

NB! “Use SSL” should be enabled for both server settings!
7. Choose Next.


– If the account settings were saved correctly and the detection worked, click the “Save” button.
– If the detection did not work, then the settings need to be re-checked!
2. Changing email account settings on iPhone/iPad
This guide works with up-to-date, updated iOS devices!
1. Open the Settings application.
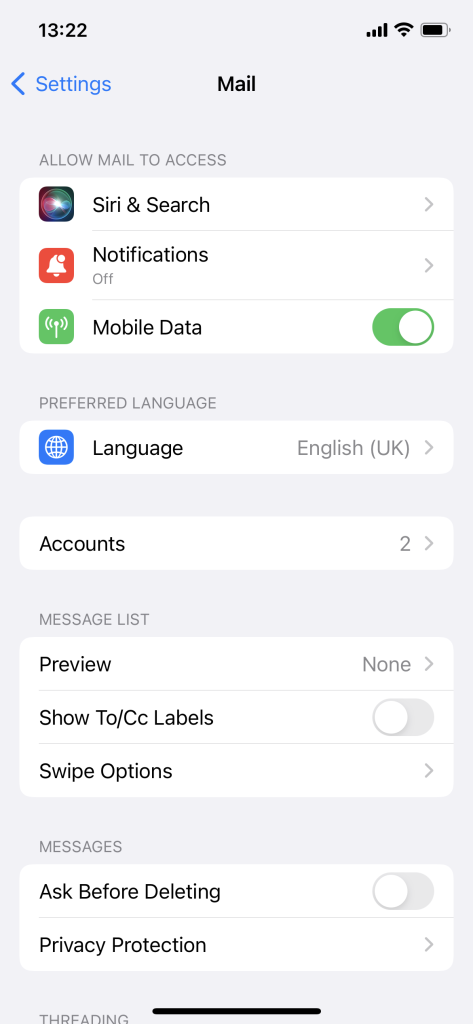
2. Under Settings move to “Accounts & Password”
3. Click on the email account you wish to change.
4. To change SSL and ports, choose:
– In the incoming email server settings Advanced -> Use SSL should be enabled and the port should be as shown in webmail under settings!
– In the outgoing email server settings, go back to account and choose SMTP and then SMTP server, that you wish to change -> Use SSL should be enabled and the port should be as shown in webmail under settings!
5. Click Done and go back to the Mail application and test if sending/receiving works correctly!